Now that we have built the brokered component , we have to build a proxy/stub for it. Proxies and stubs are how WinRT method calls are marshalled across process boundaries. If you want to know more – or you have insomnia – feel free to read all the gory details up on MSDN.
Proxies and stubs look like they might be scary, but they’re actually trivial (at least in the brokered component scenario) because 100% of the code is generated for you. It couldn’t be much easier.
Right click the solution node and select Add -> New Project. Alternatively, you can select File -> New -> Project in the Visual Studio main menu, but if you do that make sure you change the default solution from “Create new Solution” to “Add to Solution”. Regardless of how you launch the new project wizard, search for “broker” again, but this time select the “Brokered Windows Runtime ProxyStub” template. Give the project a name – I chose “HelloWorldBRT.PS”.
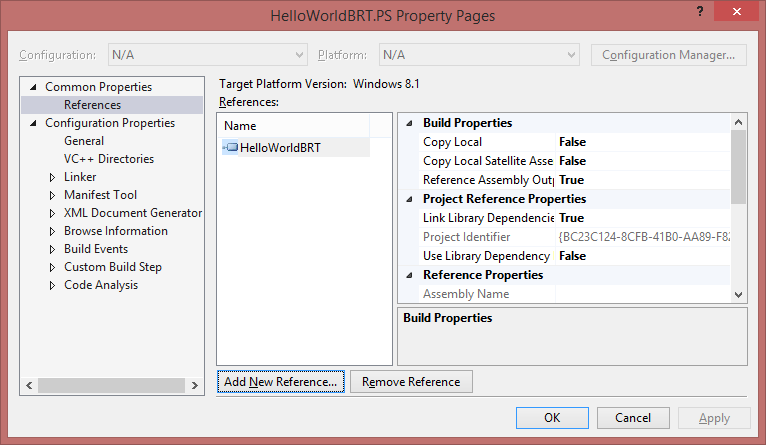
Once you’ve created the proxy/stub project, you need to set a reference to the brokered component you created in step 1. Since proxies and stubs are native, this is a VC++ project. Adding a reference in a VC++ is not as straightforward as it is in C# projects. Right click the proxy/stub project, select “Properties” and then select Common Properties -> References from the tree on the left. Press the “Add New Reference…” button to bring up the same Add Reference dialog you’ve seen in managed code projects. Select the brokered component project and press OK.
Remember when I said that 100% of the code for the proxy/stub is generated? I wasn’t kidding – creating the template and setting referencing the brokered component project is literally all you need to do. Want proof? Go ahead and build now. If you watch the output windows, you’ll see a bunch of output go by referencing IDL files and MIDLRT among other stuff. This proxy/stub template has some custom MSBuild tasks that generates the proxy/stub code using winmdidl and midlrt. The process is similar to what is described here. BTW, if you get a chance, check out the proxy/stub project file – it is a work of art. Major props to Kieran Mockford for his msbuild wizardry.
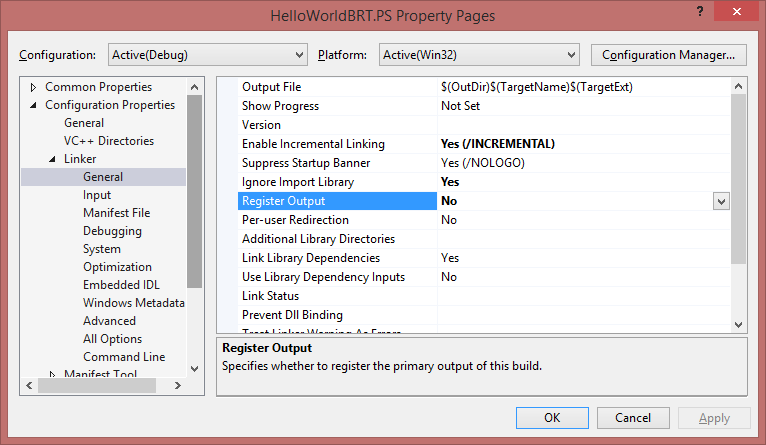
Unfortunately, it’s not enough just to build the proxy/stub – you also have to register it. The brokered component proxy/stub needs to be registered globally on the machine, which means you have to be running as an admin to do it. VS can register the proxy/stub for you automatically, but that means you have to run VS as an administrator. That always makes me nervous, but if you’re OK with running as admin you can enable proxy/stub registration by right clicking the proxy/stub project file, selecting Properties, navigating to Configuration properties -> Linker -> General in the tree of the project properties page, and then changing Register Output to “Yes”.
If you don’t like running VS as admin, you can manually register the
proxy/stub by running regsvr32 <proxystub dll> from an elevated
command prompt. Note, you do have to re-register every time the public
surface area of your brokered component changes so letting VS handle
registration admin is definitely the easier route to go.
In the third and final step, we’ll build a client app that accesses our brokered component.