In this step, we’ll build the brokered component itself. Frankly, the only thing that makes a brokered component different than a normal WinRT component is some small tweaks to the project file to enable access to the full .NET Runtime and Base Class Library. The brokered component whitepaper describes the these tweaks in detail, but the new brokered component template takes care of these small tweaks for you.
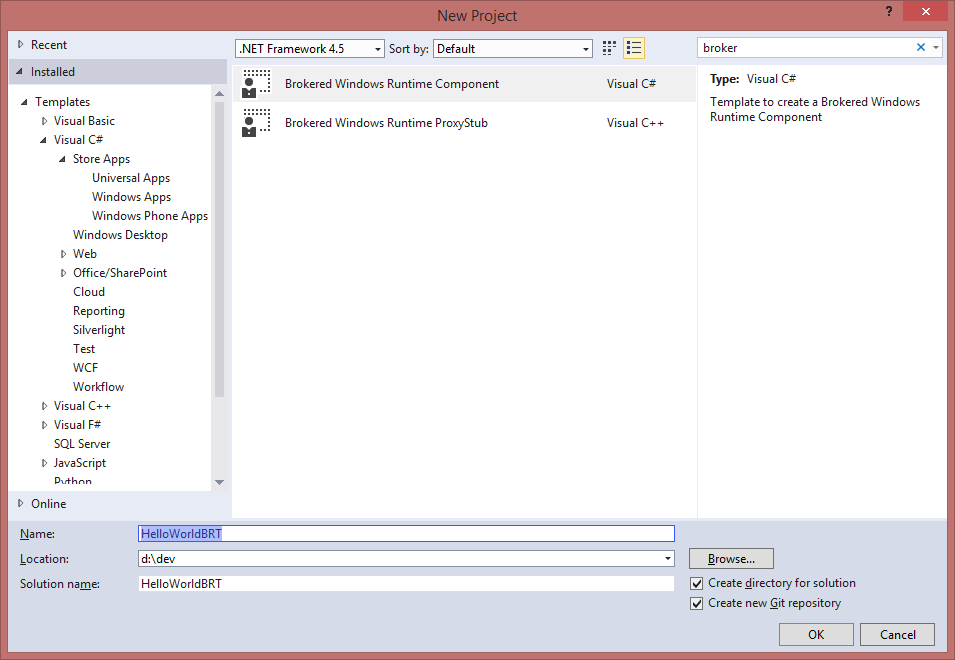
Start by selecting File -> New -> Project in Visual Studio. With the sheer number of templates to choose from these days, I find it’s easier to just search for the one I want. Type “broker” in the search box in the upper left, you’ll end up with two choices – the brokered WinRT component and the brokered WinRT proxy/stub. For now, choose the brokered component. We’ll be adding a brokered proxy/stub in step two. Name the project whatever you want. I named mine “HelloWorldBRT”.
This is probably the easiest step of the three as there’s nothing really special you have to do – just write managed code like you always do. In my keynote demo, this is where I wrote the code that wrapped the existing ADO.NET based data access library. For the purposes of this walkthrough, let’s do something simpler. We’ll use P/Invoke to retrieve the current process and thread IDs. These Win32 APIs are supported for developing WinRT apps and will make it obvious that the component is running in a separate process than the app. Here’s the simple code to retrieve those IDs (hat tip to pinvoke.net for the interop signatures):
public sealed class Class
{
    [DllImport("kernel32.dll")]
    static extern uint GetCurrentThreadId();

    [DllImport("kernel32.dll")]
    static extern uint GetCurrentProcessId();

    public uint CurrentThreadId
    {
        get { return GetCurrentThreadId(); }
    }

    public uint CurrentProcessId
    {
        get { return GetCurrentProcessId(); }
    }
}
That’s it! I didn’t even bother to change the class name for this simple sample.
Now, to be clear, there’s no reason why this code needs to run in a broker process. As I pointed out, the Win32 functions I’m wrapping here are supported for use in Windows Store apps. For this walkthrough, I’m trying to keep the code simple in order to focus on the specifics of building brokered components. If you want to see an example that actually leverages the fact that it’s running outside of the App Container, check out the NorthwindRT sample.
In the next step, we’ll add the proxy/stub that enables this component to communicate across a process boundary.
Comments: